

Let me guess what happened.
You are an amazing chef, you cook delicious recipes, and every other person who has tasted it, suggested you start a blog. They told you it would be wonderful, people from all corners of the world will appreciate your talent, and you will make money doing so.
But, nobody told you how. They never told you how to start a food blog, where to start, how to do it without mistakes, how to post your killer recipes, how to get traffic, and make money.
Consider it as your lucky day. You’ve stumbled upon the right page.
In this guide, I’ll help you start a food blog from scratch and will also discuss how can you make it famous.
More importantly, I’ll cover all the technical parts of starting a food blog and make it dumb easy for you.
Here’s all you need to get started –
- Passion for Cooking & Sharing
- An Active Internet Connection
- A Credit Card to Buy Hosting
- 20 Minutes of Your Time
- A Working Brain
Checked?
Let’s get started now.
Step-by-Step Guide to Start a Food Blog
If you’re ready with all the requirements I asked, it won’t take you more than 20 minutes to start a self-hosted food blog with WordPress.
WordPress is a Content Management System which will help you manage your blog, create, add, delete articles, and more. You’ll have full control over your blog naming, design, and growth.
There’s a free version of WordPress available, but I don’t recommend it if you’re serious about your blog. It’ll limit your ability to design your blog, you don’t have a professional domain name, and you can’t make money from it.
If you’ve understood the basics of starting a food blog, here are the recommended steps to start a food blog and make it famous.
Step 1: Name Your Blog and Register a Brandable Domain Name
The first thing you need to think of is the name of your blog. Your food blog name should be easy to remember, related to what you’ll be posting, and brandable.
Remember, if you get popular one day, you don’t want to be known as the writer behind I-post-about-food-from-my-home.com
Also, your blog name should be easy to spell in case someone asks for it in person.
Few golden rules of naming a domain name are –
- Don’t use hyphens and numbers.
- Stick to the .COM extension
- Keep it short (at most 3-4 words)
- Avoid using non-dictionary words (ex. ketchupp)
You can also use your personal name as your blog name. It turns out to be great for most of the bloggers and provides a personal feel to the blog.
A few examples of good food blog names are –
- Pinch of Yum (pinchofyum.com)
- Minimalist Baker (minimalistbaker.com)
- Cookie and Kate (cookieandkate.com)
- IAmAFoodBlog (iamafoodblog.com)
Once you have decided on your blog name, you need to register the domain to own it officially. It costs around $10/year, and there are various registrars available – GoDaddy and NameCheap.
But, since you’re following this amazing guide to starting a food blog, you get a free domain name with your hosting account – read on to know how.
Step 2: Buy Reliable WordPress Hosting + Install WordPress
Web hosting account is needed to host WordPress CMS, all your files, and serve your website to internet users.
Without web hosting, your site would never be live.
I recommend BlueHost, which is one of the web hosting service available for new bloggers. Bluehost makes it damn easy to install WordPress and can easily handle the spike in traffic.
And the best part? You get a free domain name with any package. It saves you few dollars as well as the hassle of setting up DNS servers if you had bought it from the separate registrar.
Follow the below steps to buy web hosting and install WordPress on BlueHost.
Visit this page (click here to visit Bluehost) and click on the get started button to buy web hosting for your food blog.

Next, you’re asked to choose a web hosting package. I highly recommend you to stick with the basic plan for now.

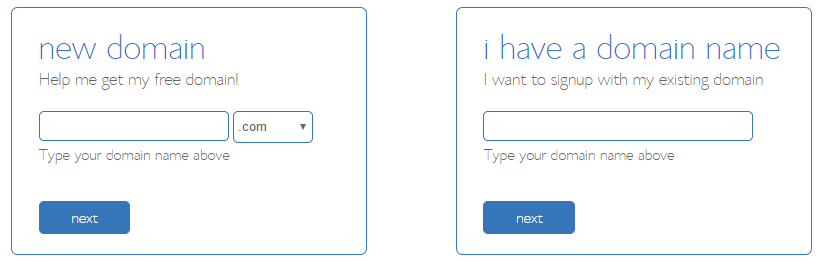
After you select the hosting plan for your food blog, it will ask you to enter the domain name you came up with earlier. If the domain name is available, you can proceed further; else you need to try a different name.
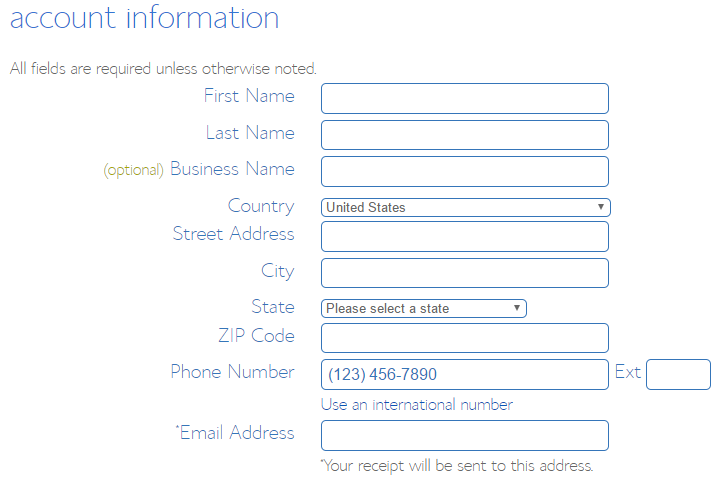
Fill in your contact information and other details asked on the page. Complete your payment, and you’ll get instant access to your BlueHost account.
To install WordPress on Bluehost web hosting here are the steps.
- Login to your Bluehost cPanel account.
- Search for the website section and click on the WordPress Icon (Install WordPress).
- Now select your domain name to install WordPress on it.
- Now choose your username and password for the new WordPress installation.
- check the license and service agreements boxes.
- Click on the Install Now button.
Now you’ve successfully installed the WordPress on your domain.
You’ll get the login details and URL to access your WordPress Dashboard.
Step 3: Install a Delicious WordPress Theme & Customize It
WordPress, out of the box, comes installed with a neat free theme called ‘twenty-seventeen.’
There are hundred other beautiful themes available for free to install in WordPress directory. If you’re out of the budget, free themes are your only option to make your blog look decent.
However, if you’ve some investment left, I will recommend you to install a premium theme. It’ll give you more options to customize your blog, will load faster and looks amazing on all sorts of screens.
If you’re clueless, here are few premium themes I would suggest you buy –
- Food Recipes (Available on ThemeForest)
- Malaga (Available on ThemeForest)
- iCook (Available on ThemeForest)
Along with premium look, these themes also offer some neat plugins that’ll make your job easier. You can create recipe boxes with interactive designs and more.
To install these third-party themes, go to Appearance > Themes > Add New and upload the .zip file you’ll receive on the purchase.
Step 4: Install WordPress Plugins
The theme gives your blog a beautiful design, whereas plugins provide it with the major functionalities.
There are thousands of plugins available for each action you desire, but here are the standard ones to start with –
Akismet: Helps you fight with spam comments. It’ll automatically detect the spammers and discard the comments without disturbing you.
Yoast SEO: Getting traffic from search engines should be your ideal goal, and for that, you need to understand SEO. Yoast SEO plugin makes it easy to handle on-page SEO on your blog.
Updraft Plus: Due to some unforeseen situations your website data may get erased. This plugin will help you take daily backup of your site for free.
Easy Recipe: It is a must have a plugin for food bloggers sharing recipes. The plugin will format your recipes for Search Engine Optimization leveraging more clicks and traffic.
Pinterest Pin it Button: Pinterest would be one of your biggest social traffic sources, and this plugin will make it easier for your readers to pin the images on your blog.
WordPress Related Post: This is a very good plugin to show related posts at the end of an article. As soon a user completes an article on your blog, this plugin will suggest some related articles to the visitor.
W3 Total Catch: I use this plugin on all of my blogs. This plugin helps in speeding up a WordPress blog.
Unit Converter: If you’re targeting a global base you need to take care of the unit conversion. Unit Converter plugin will automatically detect and convert both the metric and imperial measurements when readers hover over them
Step 5: Start Curating Original Content
Now that your food blog is live with all the required functionalities, it’s time for you to create share-worthy articles. You should have a content strategy for your blog.
Quality, originality, and the style of your writing matters. Your readers will only find to blog interesting if there’s new information.
A general approach is to write long-form contents (minimum 1500 words), and include as many details as possible. Long-form contents have more chances of being shared on social channels and ranked higher on the search pages.
The frequency of posting new articles also plays a significant role. Aim to update your new blog for at least 3-4 times weekly. Once you’ve got steady traffic, you can come down to 1-2 article per week.
Make sure to attach good quality images in every blog post you write. You can get free, high-quality stock photos from free stock photo websites.
To never get out of ideas to write about, indulge yourself in reading related blogs, magazines, and watch YouTube videos.
Step 6: Promote Your Food Blog
Your website is live with a beautiful design, required functionalities, and some decent quality articles. But, there’s one thing missing – traffic.
There’s no use of writing such amazing recipes if you’re the only one reading your blog. You need to get the words out and promote your blog.
From what successful bloggers have experienced, you should spend 20% of your time in creating content and 80% in promoting it.
There are various ways you can promote your blog, including –
Social Networks
Food bloggers are quite popular on social media channels, and it serves as a major source of traffic.
Start by creating accounts/pages on Facebook, Twitter, Instagram, and Pinterest.
Make use of tools like Buffer and BoardBooster to automate maximum of the task and repetitively share your contents.
Use Canva (free tool) to create visually appealing graphics optimized for each social media channel.
Email Marketing
Having one email subscriber > having ten social media followers. Email subscribers are your loyal readers, and you have the permission to share your random thoughts with them at any given point in time.
Also, if you’re selling some products, then email subscribers have the maximum probability of buying.
You can use free email marketing platform like MailerLite and MailChimp to collect subscribers and send campaigns.
Network with Other Bloggers
Building a network with bloggers in your niche will help you get quick authority, exposure, and target followers.
You can also get some backlinks from your online friends who will help your site rank higher. Other than that, you can always ask for helpful tips and secrets from those who have already build a famous food blog.
Leave helpful comments on their site & share on social media before pitching. Being helpful, friendly, and polite is the key to networking among bloggers.
Guest Post
Similar to networking, you can guest post on blogs in your niche to get recognized. In the guest posting, you write some quality content and post on someone else’s blog in exchange for links or mention.
Most of the times it is done for free, but you might come across some sites asking for a fair amount to accept your guest post.
Guest posting is a proven strategy used to build a brand in short span of time.
Final Words
If you have the ability to spark on the internet, then you should. Starting a blog is a great way to share your contents with others and get recognized for it.
If you have a good amount of steady traffic, you can put Google Ads on your site and make it a revenue making stream. Other than that, you can sell your products to make more money online.
I hope this guide has helped you take action and start a food blog with WordPress. While I tried my best to keep the guide informative, I might have skipped some important parts.
Feel free to comment down and ask your doubts. Also, make sure to share this guide with your friends who might be interested in starting a food blog.